
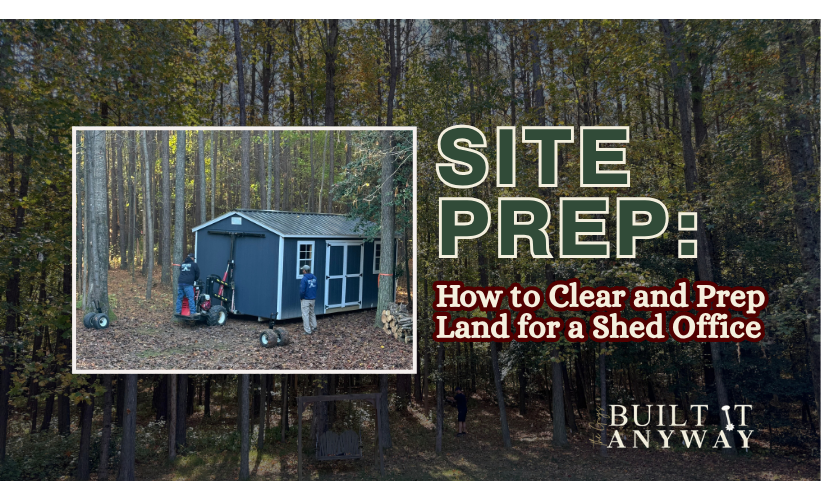
How to Clear and Prep Land for a Shed Office (Step-by-Step Guide)
Before you can build your dream backyard office, you have to start with the not-so-glamorous part: shed site preparation. Trust me, this step matters more than you think. A poorly prepped site can lead to drainage issues, uneven floors, and a whole lot of regret later.
We started with a patch of land that was anything but build-ready, namely a plethora of trees and uneven ground. In this guide, I’ll walk you through exactly how we tackled clearing, leveling, and preparing our land so our shed-to-office conversion had a solid foundation from day one.
Table of Contents
Why Clearing and Prepping the Land Matters
If you’re anything like, prep work is the worst part of any project. Painting? I absolutely hate priming and all but refuse to tape shit off. Refinishing furniture? The thought of stripping and sanding the piece of furniture first is typically enough to keep me from doing it altogether.
So trust me when I say, prepping the land is not the fun part; but it’s definitely the necessary part. Blah, I know.
But let’s be real for a minute, you don’t want to run into drainage problems or get stuck with an uneven foundation that causes your chair to roll away from you; and you certainly don’t want structural issues to pop up down the road.
Evaluating Your Build Site
Choosing the Right Location
First things first in your shed shite preparation, you need to determine how far you want your shed-turned-office from your house. If it’s too far, you might run into issues with internet connectivity and running electricity to it. I talk more about that in this post, and explain how we resolved the wifi issue.
You’ll also want to pay attention to sun/shade on the structure at different times of the day. You might not want the sun shining through the window and causing a glare on your computer screen, or maybe you want some sun coming through to lighten things up in the afternoon. Everyone’s preference will vary, so this is just something to keep in mind.
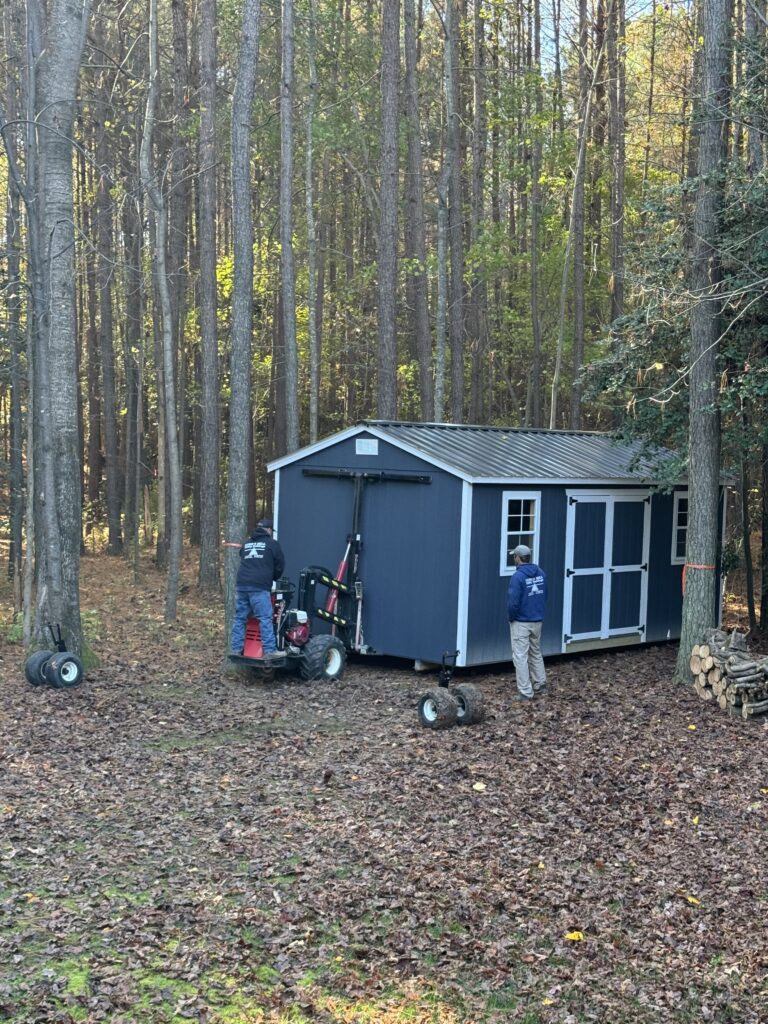
Lastly, when it comes to choosing the location, you’ll want to make sure that there is ample room for the delivery driver to access the site. Our shed delivery required us removing a section of our small fence to access the backyard wit their large forklift.
And if you’re taking notes, jot this down for sure: Make sure you know where your septic lines are so that the delivery driver doesn’t drive over them with their heavy equipment and your new shed, thereby cracking a line and causing a leak. Ask me how I know. Ugh!!
Checking Slope and Drainage
Before you do anything else, take a good look at the slope of your land, because water is going to go wherever gravity tells it to, and you do not want that place to be under your shed. Even a slight slope can make a big difference in how water drains after a heavy rain.
Ideally, your site should be level or gently sloped away from where your shed will sit to prevent pooling underneath. Avoid low spots at all costs. We have a spot right in front of our door that looks like a harmless dip on a dry day but turns into a mini pond every time it rains. Again, ugh!!
The good news is you don’t need fancy tools to figure this out. A simple way to assess slope is by placing a long board (or 2×4) across the ground with a level on top, or by running a string line between two stakes and measuring the distance from the ground at different points. If water would naturally flow toward your shed instead of away from it, it’s a sign you’ll need to do some leveling or grading before moving forward.
Understanding Local Zoning and HOA Rules
The last thing that I suggest checking into when you’re deciding where to place your shed office is the local zoning restrictions and HOA rules. These will vary depending on where you live, so please do your due diligence before getting started.
Tools and Materials You’ll Need for Shed Site Preparation
Basic Tools for Clearing the Land
- Shovel
- Rake
- Pruning shears or handsaw
- Wheelbarrow
- Possibly an ax if you have to chop up a stump like we did
Equipment That Makes It Easier
- Chainsaw (We have this small one that worked fine, but we had to borrow one from our neighbor and it had definitely seen better days! ha! )
- Weed eater
- Skid steer / rented equipment
Materials for Ground Prep
- Landscape stakes
- String line
- Tape measure
- Gravel or crushed stone or dirt for filler
Step-by-Step: How to Clear the Land for the Shed
Step 1: Mark Your Shed Footprint
Start by marking exactly where your shed will sit. This is your foundation for everything that follows, so it’s worth taking a few extra minutes to get it right. Measure out the dimensions of your shed carefully, then add a little buffer space (about 1–2 feet on each side) to give yourself room for leveling, airflow, and future maintenance.
Once you’ve got your measurements, use stakes and string to outline the footprint. This simple visual makes it much easier to see how the shed will sit on your land and helps you catch any spacing issues before you start digging or clearing. Think of it as your “blueprint on the ground”—low effort, but high impact.
Step 2: Remove Vegetation and Debris
Once your footprint is marked, it’s time to clear everything out — grass, weeds, rocks, and anything else standing between you and a solid foundation. And here’s the important part: don’t just cut it down and call it a day. If you leave roots behind, they will come back (usually at the worst possible time), and they can even cause shifting under your shed over time.
Use a shovel or hoe to dig up root systems, not just the surface growth, and take the time to remove larger rocks that could interfere with leveling later. It’s not the most glamorous step, but doing it thoroughly now saves you from dealing with weeds popping up through your gravel, or worse, an uneven base, down the road.
Step 3: Deal With Larger Obstacles
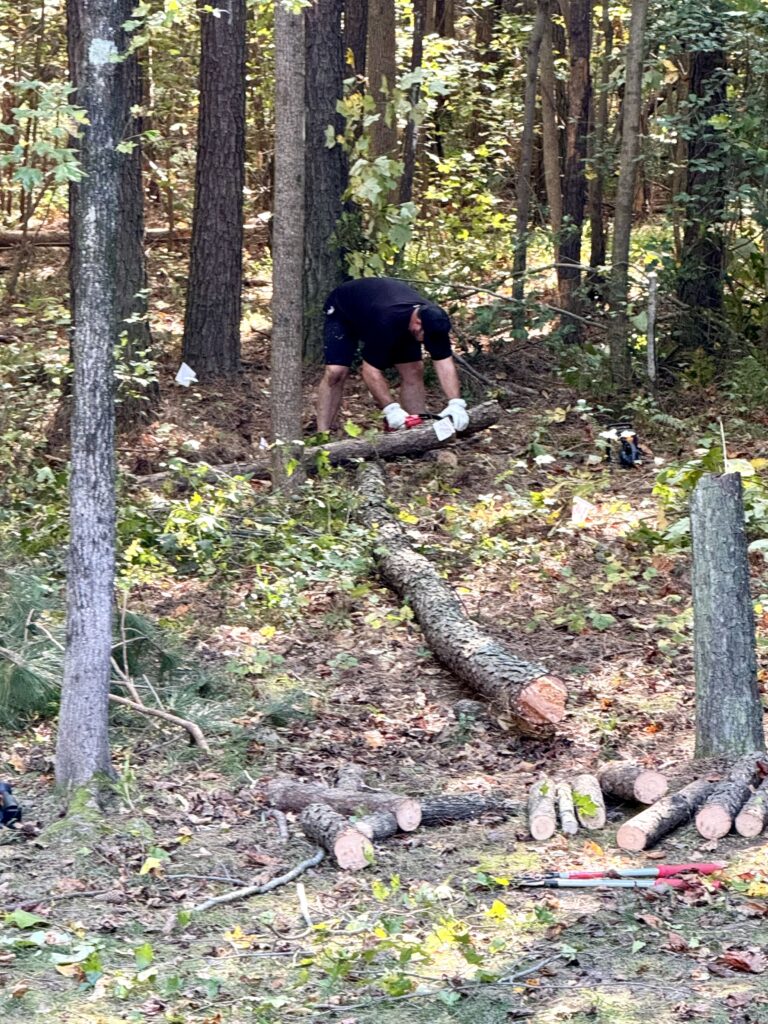
This is the step where things can go from a quick weekend project to “okay, maybe we need backup.” If your site has small trees, stumps, or large rocks, you’ll need to decide what’s manageable on your own and what’s better left to the pros. We ended up having to cut down a couple of trees in order to get our shed-turned-office situated exactly where we wanted it, and trust me when I say, it was no small feat; especially when it came to removing the stump. And like I mentioned earlier, the fact that we were working with a janky ass chainsaw didn’t help matters any!
Smaller saplings and shallow roots can usually be handled with a shovel, loppers, or a chainsaw if you’re comfortable using one. But stumps and deeply embedded rocks are a different story — they’re stubborn, time-consuming, and can quickly wear you out. If you find yourself spending hours making little progress, it might be worth renting equipment like a stump grinder or even calling in help. Sometimes spending a little money here saves a lot of time and keeps your project moving forward.
Leveling the Ground
Step 4: Rough Leveling
This step is where my husband excels and where I check out. There’s not much to it, really. It mostly consists of moving dirt from high spots to low spots, and using a rake and shovel to get it done. There’s not much else to say about this step in the shed site preparation!
Step 5: Check for Level
Now comes one of the most important steps in the entire process — making sure your ground is actually level (or very close to it). One easy way to do this is the string line method: run a tight string between two stakes across your site and measure the distance from the ground at multiple points to spot high and low areas. This is the method we used.
Another simple option is the level + board method, where you place a long, straight board (like a 2×4) across the ground and set a level on top to check for evenness. Both methods are low-tech but incredibly effective. And trust me, this is not the step to rush. If your base isn’t level now, your shed won’t be level later, which can lead to doors that won’t close right, structural stress, and a lot of frustration you could have avoided. Taking the time to get this right sets the stage for everything else.
Step 6: Compact the Soil
Once your ground is level, it’s time to lock it in place by compacting the soil, because loose soil will shift over time, and that’s how you end up with a shed that’s no longer level a few months down the road. Compaction helps create a firm, stable base that can support the weight of your shed without settling unevenly.
For smaller areas, you can absolutely do this manually using a hand tamper (and a little elbow grease), working in sections until the soil feels firm and packed. We recently did this when we were building a walking path in our backyard that leads to our shed, but we chose not to do that with the shed foundation prep as it would have taken much more time than we were willing to spend since it was such a large area.
If you’re dealing with a larger footprint or want to save yourself some effort, renting a plate compactor can make the job faster and more consistent. Fortunately, the company that we purchased our shed from also delivered it, and they compacted it for us before they came to deliver it. Either way, don’t skip this step — it’s one of those behind-the-scenes details that makes a big difference in how your shed holds up over time.
Beefing Up the Base
Some experts recommend installing a gravel base, typically 3-4 inches deep, but we ultimately decided against it. They also suggest laying down a weed barrier, but again, we chose not to do that either. Time will tell if we made a mistake in forgoing those things, and I’ll be sure to update you if regret (and weeds) creep in at some point!
What It Really Took (Our Experience)
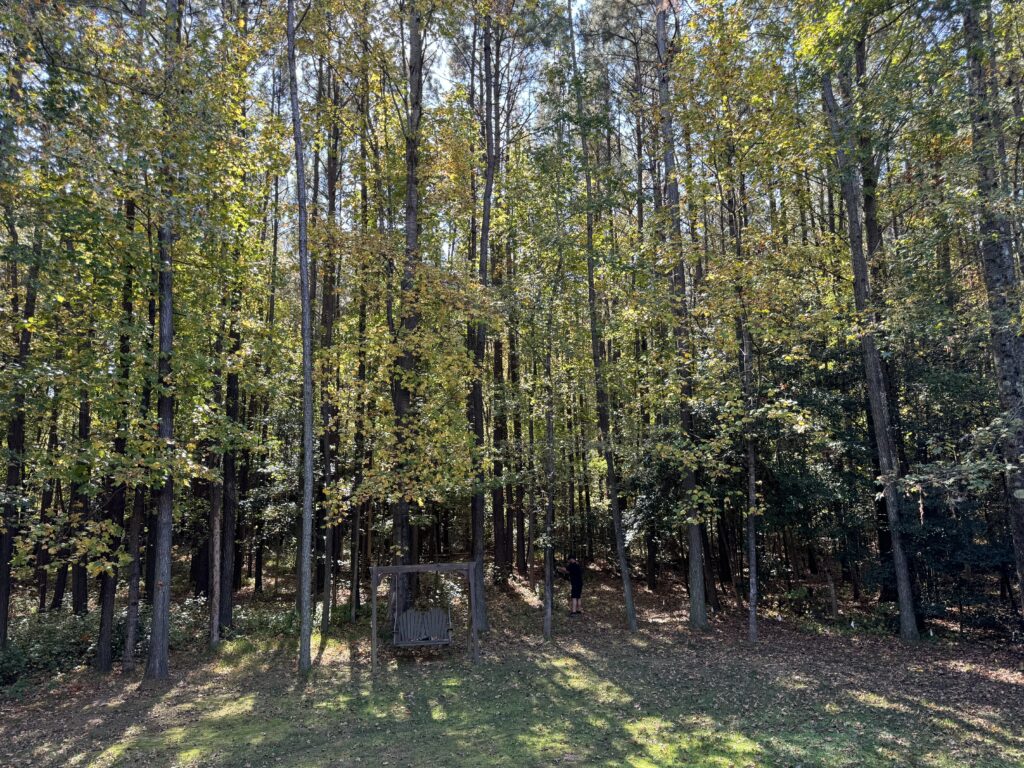
From start to finish, it took us about three weeks to measure and clear and prep our land for the delivery of our shed-turned-office. That might sound like an incredibly long time, but keep in mind, my husband and I both have regular full-time jobs, so the work we did primarily took place on the weekends. A lot will depend on how much you need to clear out, and as you can tell by the picture below, our little forest is pretty dense. This is what the spot looked like before we cleared a spot for it.
Overall, the delivery and installation process went pretty smoothly. We used some bright orange tape to mark the trees between which it needed to be placed, just to make it a little easier for our delivery guys to see. As I mentioned earlier, we did run into an issue with our septic line getting cracked when they ran over it with the skid steer, but that’s on us, not them! Definitely something to keep in mind!
Final Thoughts on Our Shed Site Preparation
If you’re wondering, given the amount of work we put in and the obstacles we faced, if we would do it again, the answer is an emphatic, “Yes!” Yes a thousand times over. Sure it had it challenges and it required us putting in plenty of physical labor, but the end result has been worth every penny and weekend spent and every scrape and sore muscle sustained!
Here’s the thing I always tell my husband and kids when we’re facing something challenging that I know will be worth it in the long run: “We can put up with the temporary suck for the longterm reward!” In other words, it sucks now but it will be worth it!